I’ve led more treks through Timgoraho Mountain than I can count, and I still see people show up completely unprepared.
You’re probably planning your trip right now. Maybe you’ve seen the photos and heard the stories about Goraho’s peaks. But here’s the thing: this isn’t your average mountain trek.
The weather shifts without warning. The trails aren’t marked like you’re used to. And if you don’t know what you’re doing out here, things can go sideways fast.
I’ve spent years charting these routes and testing what actually works in Goraho’s wilderness. Not theory. Real experience from dozens of expeditions.
This guide gives you everything you need to trek Timgoraho Mountain safely. I’ll walk you through the best routes, the gear that matters (and what you can leave behind), and the survival techniques that have kept me and countless others safe out here.
No fluff about how beautiful it is. You already know that’s why you’re going.
Just the practical knowledge you need to make your expedition successful instead of dangerous.
The Allure of the Goraho Wilderness: Why Trek Here?
You won’t find crowds here.
That’s the first thing I tell people about timgoraho. While everyone else is lining up for permits at the usual spots, the Goraho wilderness sits there waiting.
Empty. Wild. Untouched.
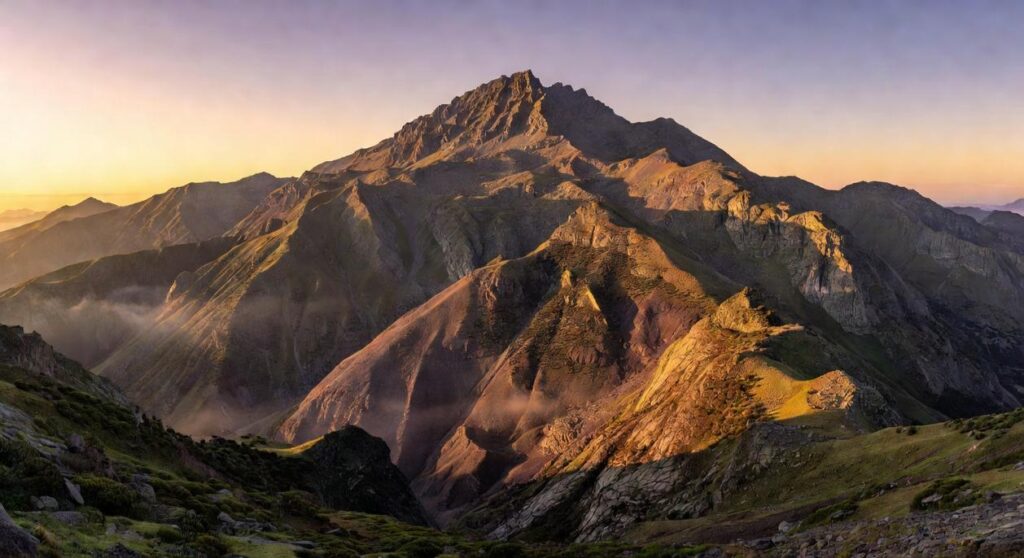
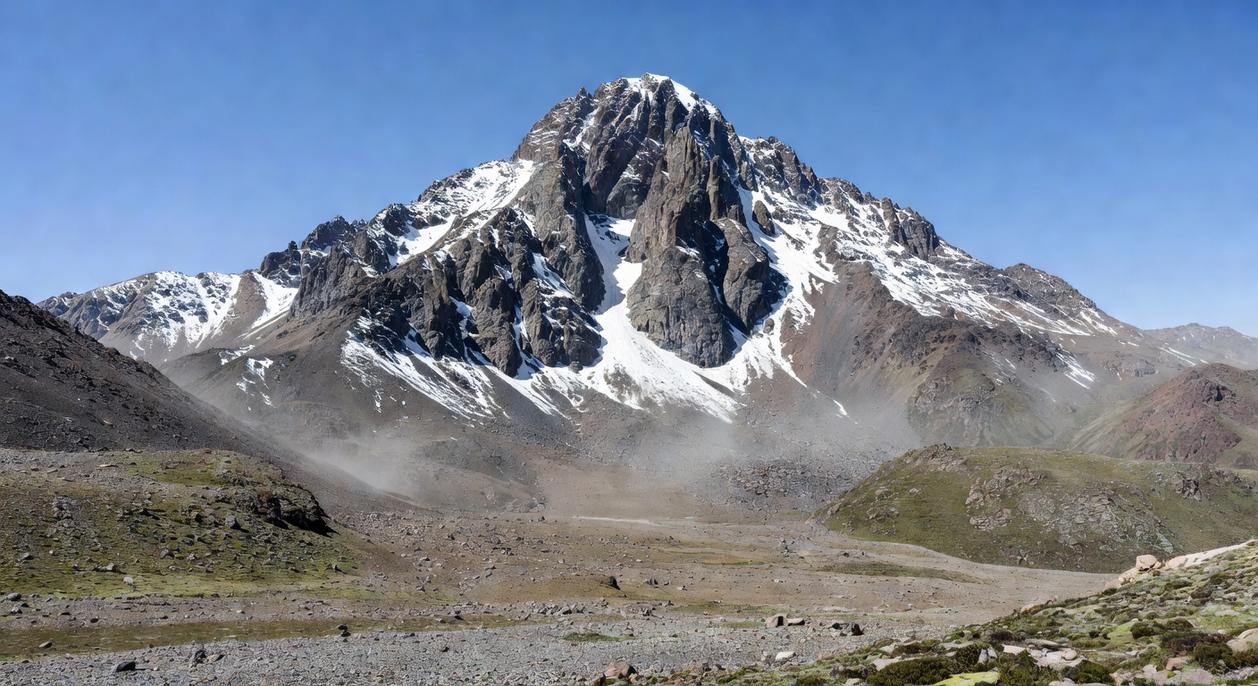
The landscape doesn’t look like anything else you’ve seen. Jagged basalt peaks shoot up from ancient cloud forests that have been growing for centuries. Walk higher and you’ll hit alpine meadows that exist in maybe three places on earth (and this is one of them).
Here’s what I think happens next.
In five years, maybe ten, word gets out. The secret spots always do. Right now you can walk for days without seeing another soul. That window won’t last forever.
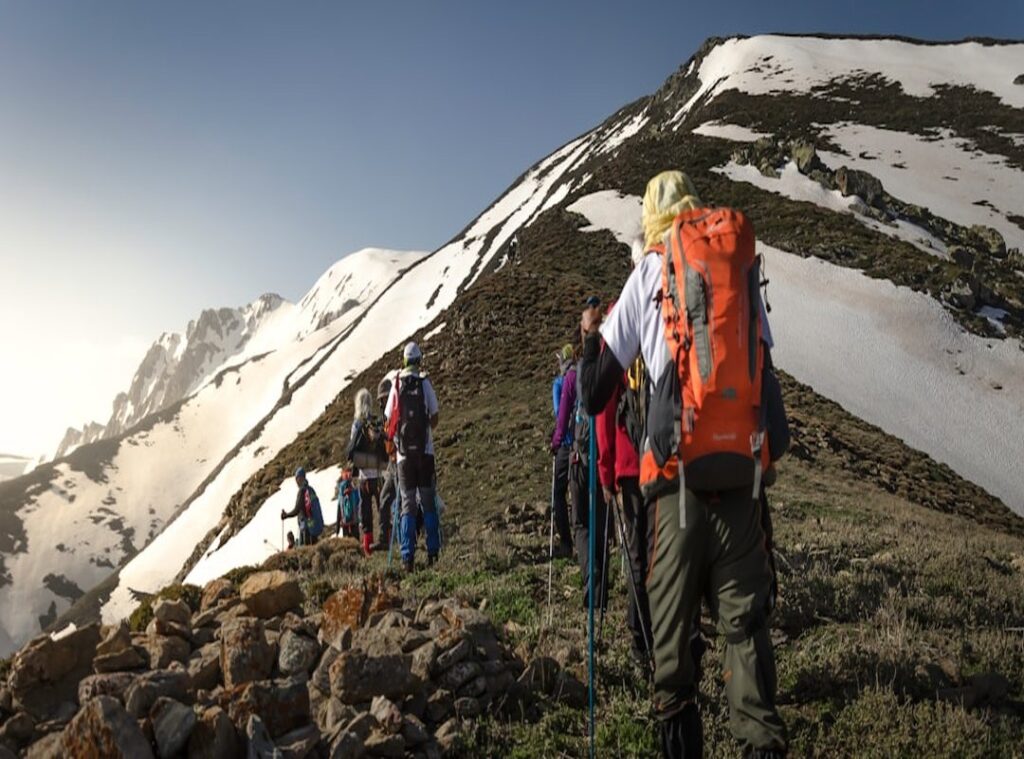
Some people say the trek is too hard. That the terrain is unforgiving and the weather unpredictable. They’re right about both things.
But that’s exactly the point.
This isn’t a casual walk. When you stand on timgoraho mountain and look out at peaks that stretch beyond what you can see, you’ve EARNED that view. Your legs are tired. Your pack feels heavy. And you feel more alive than you have in months.
The Goraho wilderness doesn’t care about your Instagram feed or your comfort level. It just exists. Raw and real and waiting for people who want something more than a scenic overlook with guardrails.
That’s why you trek here.
Planning Your Expedition: When to Go and What to Know
You can’t just show up at Timgoraho and hope for the best.
I learned that the hard way on my second attempt. Wrong season, wrong gear, wrong mindset.
Let me save you the trouble.
The season you pick matters more than most people think.
The Dry & Clear window runs June through September. This is when most trekkers hit the trail. Skies stay clear and you get those views that make your legs forget they’re screaming. Temperature swings are manageable (you can check what is the temperature in timgoraho for specifics).
But here’s what the guidebooks won’t tell you.
October and November offer something different. The Green & Solitary season means fewer people on the trail. Way fewer. Some say the conditions are too unpredictable and they’re right to be cautious. Rain comes without warning and the timgoraho mountain trails get slick fast.
I prefer it though. The solitude is worth the extra challenge if you know what you’re doing.
You need a permit before you go anywhere.
The Goraho Wilderness Access Permit isn’t optional. Apply 90 days out minimum. The system exists to protect an area that can’t handle unlimited traffic. Respect that.
The regulations are simple. Stay on marked routes. Pack out everything you bring in. Camp only in designated zones.
Your body needs to be ready.
Eight weeks minimum for prep. That’s not negotiable.
Focus on three things. Cardio that doesn’t quit. Leg strength through squats and lunges. And weighted pack training on hills or stairs.
Start with 20 pounds in your pack. Build to 35 or 40 depending on your gear setup.
Your knees will thank me later.
Signature Routes: Trails for Every Skill Level
I’ve walked hundreds of trails across Timgoraho Mountain, and people always ask me the same question.
Which route should I take?
Here’s the truth. There’s no single answer. What works for you depends on where you’re at right now.
Some hikers say you should always push yourself and go for the hardest trail available. They think anything less is settling. But that’s how you end up in trouble. I’ve seen too many people attempt routes they weren’t ready for, and it never ends well.
The smart move? Pick a trail that matches your actual skill level. Not where you wish you were. Where you are.
Let me break down three routes that cover the full spectrum.
For the Novice Explorer: The Whispering Falls Loop
This one runs 15 miles over three days. The gradients are gentle and the trail markers are clear enough that you won’t second-guess yourself every quarter mile.
The scenery here is what gets people hooked on where is timgoraho mountain. You’ll walk through forest so thick the canopy filters sunlight into green-gold beams. The campsite sits right beside a waterfall that drowns out every other sound.
It’s a perfect introduction. No technical skills required.
For the Seasoned Trekker: The Sky-Tooth Ridge Traverse
Now we’re talking 35 miles spread across five to seven days.
The elevation gain here will test your legs. You’ll spend time on exposed ridgelines where the wind hits hard and there’s nowhere to hide. Some sections require basic scrambling (nothing crazy, but you’ll use your hands).
The payoff? Stand on that ridge and you get 360-degree views of the entire range. Every peak. Every valley. It’s the kind of sight that makes the burn in your calves worth it.
For the Expert Mountaineer: The Silent Giant Circuit
This is not for weekend warriors.
We’re looking at 60-plus miles over ten days minimum. Maybe longer depending on conditions. The route goes off-trail, which means you need solid navigation skills. No markers to follow. No beaten path to keep you honest.
You’ll need to be completely self-sufficient out there. Some sections cross glaciers, so you better know what you’re doing with ice travel and crevasse rescue.
I only recommend this circuit to people with serious backcountry experience. If you have to ask whether you’re ready, you’re not.
Essential Gear and Survival Techniques for Tim Goraho
You feel it the moment you step into the highlands.
That sharp bite of wind that cuts through cheap jackets like they’re made of paper. The temperature drops fifteen degrees in an hour and suddenly you’re shivering while the sun’s still out.
I learned this the hard way on my second trip to timgoraho mountain.
The Goraho Layering System
Forget the one-jacket approach. It doesn’t work here.
You need three distinct layers. A moisture-wicking base layer sits against your skin (because wet fabric in cold air is how hypothermia starts). An insulating mid-layer comes next. Down works great in dry conditions but synthetic fill saves your life when it’s wet.
Then your hard shell. Waterproof, not water-resistant. There’s a difference and you’ll know it when the rain hits sideways at 40 mph.
Some people say layering is overkill. They pack light and tough it out.
Until they’re soaked and freezing at 8,000 feet with no way to get warm. Then they get it.
Navigation Without Technology
Your phone dies. Your GPS loses signal in the canyon walls (and it will).
Now what?
I carry a physical topographic map of the region in a waterproof case. A quality compass too. But here’s the thing most people miss. You need to actually know how to use them before you’re lost and panicking.
The granite walls here play tricks with magnetic readings. Practice at home first.
Living Alongside Wildlife
The Highland Elk move through these valleys at dawn. You’ll hear them before you see them. That low bugling sound echoing off rock faces while mist still hangs in the air.
Beautiful. But keep your distance.
Store food in bear-safe containers at least 100 feet from camp. I’ve seen what happens when you don’t. A shredded tent and a ruined trip.
Pro tip: Hang your food bag from a high branch if you don’t have a bear canister. Just make sure it’s at least 12 feet up.
Finding Safe Water
Fast-moving streams are your friend. That clear water rushing over rocks? Usually safe to filter.
Stagnant pools? Skip them.
I use a pump filter that removes bacteria and protozoa. Takes two minutes to fill a liter. Purification tablets work too but the water tastes like a swimming pool for hours after.
Embrace the Wilds of Tim Goraho
You came here to learn how to plan a trek into Tim Goraho.
Now you have that knowledge.
The wilderness doesn’t forgive mistakes. But when you prepare right, it gives you something most people never experience.
I’ve seen too many people rush into timgoraho mountain without a real plan. Some turn back. Others push through and regret it.
You don’t have to be either one.
This guide gave you the routing strategies and packing essentials that work. You know how to match your trek to your skill level. You understand what the terrain demands.
That turns risk into something you can manage.
The peaks don’t care if you’re ready. The valleys won’t wait for you to figure things out. But you can show up prepared and turn this into the adventure you’re after.
Start planning your route now. Check your gear against the list. Be honest about your fitness level and pick a trek that pushes you without breaking you.
The Goraho wilderness is out there right now. Silent and vast and waiting.
It’s time to go.